Monday 27 February 2017

Podcasts as Tools for Genius Hour

Today in tech class we were provided with some great online resources to explore using the jigsaw method. Our class was divided into colour groups who each had a selection of resources to work through. Each student was also given a number between 1-5. After our colour groups had explored the resources we met with our classmates based on numbers and shared the resources that we had explored in our original colour groups. This allowed everyone to get an overview of all the resources shared in an efficient way. The jigsaw method is a useful technique that can be used in our own classrooms to foster collaboration and sharing amongst students.

One of the resources I looked into was HowStuffWorks. This website provides links to podcasts on a variety of topics ranging from animals to auto and everything in between. I was immediately intrigued by this resource as I felt that it could be used as a great tool to help students conduct research for their genius hour projects. HowStuffWorks provides opportunities for students to explore and demonstrate their learning, as well as being a great instructional tool for teachers.


With such a wide variety of topics there is something for everyone to explore. When I searched my genius hour topic of baking I was provided with many podcasts including baking methods, questions, tips and much more. These podcasts could be very useful to me in completing my genius hour project as I could reference them to learn more about the topic.

HowStuffWorks can also be used to spark student interest when brainstorming topics for their genius hour projects. By browsing through podcasts that interest them, students may be able to identify a topic that they are passionate about or want to learn more about.

I am excited to use this resource in my own classroom and to include it in my future genius hour research!

Doug Peterson's Digital Citizenship Web Resources for Teachers

The article 18 Incredible Digital Citizenship Web Resources for Teachers by Doug Peterson is packed full of tools that we as educators can use to foster digital citizenship amongst our students. Doug identifies digital citizenship as the process of shifting the responsibility to our students and giving them agency and responsibility over their own learning.

Doug also identifies some guidelines for digital citizenship including respect for self, responsibility for self, respect for others, responsibility for others, respect for property, and responsibility for property. I feel that using these guidelines can be a great start to addressing digital citizenship with your students. By instilling these guidelines in our students we help to contribute to a positive digital community.

Doug also provides links to 18 valuable resources to assist with the teaching and learning of digital citizenship. One of the resources that I am most excited to try out is the Digital Citizenship: Resource Roundup by edutopia. This resource provides a collection of articles, videos, and other online resources that can be used to teach internet safety, cyberbullying, digital responsibility, as well as digital and media literacy. As a beginning teacher I will keep this resource in my back pocket as I embark on occasional teaching. This website could be a great 'go to' for any age group to address these topics in a meaningful and engaging way with students.


Sunday 26 February 2017

Genius Hour: Week 5

Cake Decorating 


This week I decided to put a bit of a different spin on my genius hour project as I put my cake decorating skills to the test. I found inspiration for my cake on my dessert Pinterest board. As the focus of this week was on my decorating skills rather than my ability to make a cake I allowed myself to 'cheat' a little and use a boxed cake mix as the canvas for my decorating. Not only did this save me time but it allowed me to focus on different decorating techniques that I wanted to try out. I decided on two main decorating ideas that I ended up using for my cake. The first being piped chocolate flowers, and the second being flower embellishments made from almond slices and berries. I chose these two techniques as they appeared to be manageable while still challenging for my skill set. 

What you'll need: 


- Cake mix
- Icing 
- Almond Slices
- Raspberries
- Blackberries
- Semi-sweet Chocolate Chips
- Wax Paper
- Baking Tray 
- Ziplock Bag


I decided to bake two cakes in 8 inch round baking pans, as I wanted to stack my cakes on top of each other. Once my cakes had finished baking I let them cool. It is very important that you let your cakes fully cool before you attempt to ice or decorate them otherwise your icing and decorations will melt. The following pictures outline the process I used to stack and ice my cakes:

I let my cakes cool fully before starting to decorate. 
I sliced the rounded top off of one of the cakes creating a flat base to set the second cake on. 


I iced the top of the bottom cake so that the second layer would stick. 

I pressed the top cake on top of the base. 

Starting at the top I began to ice my cake
eventually smoothing the icing around the sides. 


Instructions: Piped Chocolate Flowers 


The inspiration for my piped chocolate flowers came from the following baking blog
After watching the video tutorial on the blog I came up with a set of instructions for making my own take on these flowers. 

1. Using paper and a marker create your own design that you would like to follow. This was an important first step as it allowed me to think out how I wanted my flowers to look as well as determine what sizes I wanted to make my flowers.

2. Line a baking sheet with wax paper. 
3. Place semi-sweet chocolate chips in a microwave safe bowl and melt them. I melted 1 cup of chocolate chips and used the melt chocolate button on our microwave to ensure that I did not burn the chocolate. Make sure you stir around the melted chocolate to get rid of any clumps. 
4. Pour the melted chocolate into a ziplock bag and squeeze all the chocolate to the bottom corner. Using a pair of scissors cut a very small hole in the bottom corner of the bag. I decided to use a ziplock bag for this step as I did not have a piping bag. 
5. Gently squeeze the chocolate out of the bag in the design you have chosen. It is important that you pipe the chocolate in one fluid motion without stopping and ensure that each line connects. This will help to make your design stronger when you attempt to lift it from the wax paper.

6. Place the baking sheet in the fridge to let the chocolate flowers cool and set. Your chocolate flowers are ready when they are firm to the touch.

7. Very carefully try to lift the chocolate flowers from the wax paper. I realized that the thicker the piping of chocolate, the easier they were to remove from the wax paper. 
8. Your chocolate flowers are now ready to be placed on your cake!


Instructions: Almond and Berry Flower Embellishments 


I found my inspiration for this technique on the following blog. This technique proved to be relatively simple to complete!

1. Place a raspberry or a blueberry on the side of the cake, this will act as the centre of your flower. The icing will hold the berry in place.


2. Stick the end of the almond slices in the icing creating flower petals surrounding the berry.

3. I found that in order to make the cake look best I tried to evenly space out my flowers and make sure that there was a good mix of the red from the raspberries and the blue from the blueberries.


Results 

In order to finish decorating the top of the cake I used the remaining almond slices and berries to make a design.


It was now time to place my chocolate flowers on top of the cake! I had been nervous about this part from the beginning because the flowers looked so delicate and easy to break. This process required a lot of trial and error. At first, I had removed the chocolate flowers from the fridge and tried to peel them off the wax paper, the flowers started to get soft at room temperature and therefore were too fragile. Thankfully it was a cool day outside so I ended up having to remove the flowers and put them on my cake outside on our deck so that the chocolate stayed cool. After a few attempts I got them to stand up and I was very pleased with the result!

In this photo I had to hold the top flower to get
a picture. This is what I originally wanted to do
however, my flowers were too fragile. I would
have had to use a special melting chocolate in
order to make flowers strong enough to stand
this tall...maybe next time!! 
My finished product!!!


This is by far the most fun I have had during my genius hour project so far! This weeks project allowed me to be creative and instead of following a recipe more of the creation was left up to me. I am so proud of the end result and how well the decorating turned out. My genius hour project has definitely been encouraging me to push the boundaries and try out ideas I never thought I would be able to successfully complete. Baking is truly starting to become a passion of mine!!


Sunday 19 February 2017

Genius Hour: Week 4

Red Velvet Cheesecakes 

I have been looking forward to this week of baking for a while because I am making one of my favourites...red velvet cheesecakes! Again, I searched for a recipe on Pinterest and found one that I thought looked delicious and slightly more challenging than last weeks baking. This recipe was divided into two parts: the red velvet cake layer and the cheesecake layer on top. In this post I will share with you my experience making these cheesecakes as well as little tips and tricks that I discovered along the way. 

Ingredients: Red Velvet Cake Layer 

1 and 1/2 cups + 1 tablespoon flour 
1/4 cup cocoa powder
1 teaspoon baking soda
1/4 teaspoon salt
1/2 cup unsalted butter (room temperature) 
3/4 cup packed brown sugar 
1/4 cup granulated sugar 
1 egg (room temperature) 
1 tablespoon milk 
2 teaspoons vanilla extract 
1 tablespoon red food colouring 

Instructions: Red Velvet Cake Layer 

1. Preheat oven to 350. 
2. Line 2 muffin pans with cupcake liners. 

3. In a large bowl, whisk together the flour, cocoa powder, baking soda, and salt. 


4. Using a mixer, beat the butter on high speed until creamy. 

5. On medium speed, add in the brown sugar and granulated sugar mixing until combined. 

6. Beat in the egg, milk, and vanilla extract. 

7. Add in the food colouring and beat until combined. 


8. Combine your dry ingredients with your wet ingredients mixing until a soft and sticky dough is formed. 


9. Press one tablespoon of cake dough into the bottom of each cupcake liner. (Tip: divide your dough between each cupcake liner before pressing into the bottom to make sure you have enough dough for each cupcake) 

10. Bake for 8 minutes then remove from oven. 

Ingredients: Cheesecake Layer 

336g cream cheese (room temperature) 
2 tablespoons plain greek yogurt 
1/3 cup granulated sugar 
1 egg (room temperature) 
1 teaspoon vanilla extract
1/2 cup mini semi-sweet chocolate chips 

Instructions: Cheesecake Layer 

1. Using a mixer, beat the cream cheese on high until smooth. 

2. Beat in the yogurt and sugar until combined. 

3. Add in the egg and vanilla beating until combined. (Tip: over-beating the batter can lead to cracks in the cheesecake when it bakes) 

4. Using a spatula fold in the chocolate chips. 

5. Put one teaspoon of cheesecake batter on top of the pre-baked red velvet cheesecake layer. Spread the cheesecake so that it covers the cake layer completely. 

6. Bake the cheesecakes for about 20 minutes. You will know they are ready when they no longer jiggle when you shake the pan. 

7. Let the cheesecakes cool at room temperature for 30 minutes, then place them in the refrigerator to cool for an additional 1 hour 30 minutes and ENJOY! 


Results 

I was nervous to make these cheesecakes because they are the most difficult thing I have had to bake so far. I think that they ended up turning out pretty good though! Throughout this baking experience, I learned a lot of little tips and tricks that it will be important for me to remember next time I make these cheesecakes. 
Firstly, when beating the dough I used my regular mixing attachments. It would have been much more effective to use the dough mixing attachments to mix the batter. Using the regular attachments was very difficult as the thick dough kept getting stuck in them and they were very difficult to scrape off. The dough handle attachments would have allowed for smooth mixing without the dough bunching up in the centre. 
Dough Mixing Handles
Regular Mixing Handles 


Secondly, I discovered that cheesecakes can be quite temperamental to bake. The time is simply a gauge and should not be followed directly otherwise you may over bake your cheesecakes. My cheesecakes were only in the oven for 15 minutes before they were ready as opposed to the 20 minutes suggested in the recipe I followed. It is important when baking cheesecakes to check in frequently to see if they are still jiggly. 
The third trick I discovered through reading the recipe was that over-beating the cheesecake batter can lead to cheesecake cracks. Although these cracks do not effect the taste, your cheesecakes will not look as appealing. I was unsure of how much mixing was too much so I stopped as soon as all my ingredients were combined. Thankfully, it appears that I did not over-beat my batter as there were no cracks in the tops of my cheesecakes.

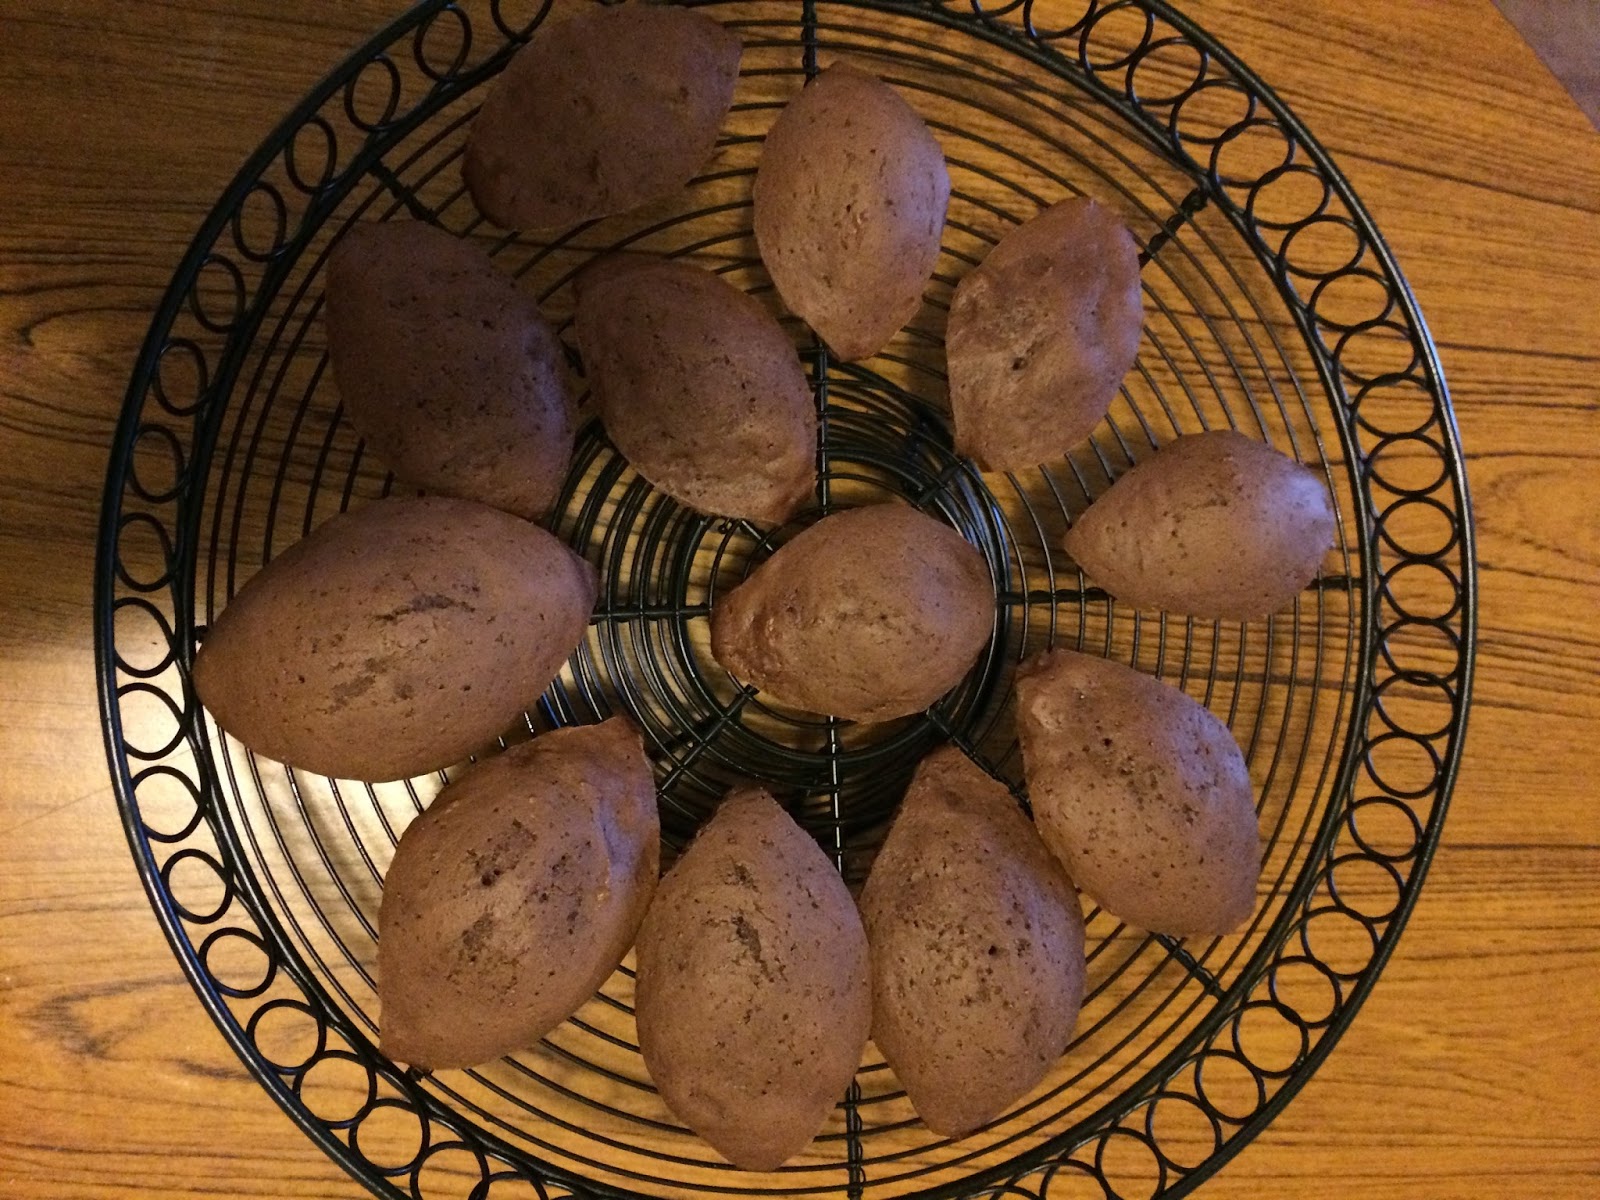
Taste wise, the red velvet cheesecakes turned out pretty well. I liked the cheesecake layer much more than the red velvet cake layer. The cheesecake was fluffy, smooth, and tasted just as I had imagined it would. However, the red velvet layer was firmer than I would hav
e liked and looked more like chocolate cake than red velvet in colour. In the future I will follow the tips above and try a different red velvet layer recipe and I'm sure that they will lead to even better tasting red velvet cheesecakes!! 

Monday 6 February 2017

Genius Hour: Week 3

Football Whoopie Pies 


In spirit of the Super Bowl, I decided to make football whoopie pies for my genius hour project this week! When looking at the recipe, I thought they looked relatively easy to make which I was excited about, seeing as I had the added pressure of bringing this dessert to a Super Bowl party. However, once I started to make them I realized they were a little more challenging than I had anticipated. 

This recipe had two parts: the football whoopie pies and the frosting. I started out making the whoopie pies so that they would have time to cool before I frosted them. 


Ingredients: Football Whoopie Pies  

6 tablespoons shortening 
1 cup sugar 
1 large egg
1 cup milk 
5 tablespoons cocoa 
2 1/4 cups flour  
1 teaspoon baking soda 
2 teaspoons vanilla 
1/2 teaspoon salt 

Instructions: Football Whoopie Pies 


1. Preheat oven to 350 degrees. 
2. In a mixing bowl, beat together shortening and sugar. Add in the egg and vanilla, continue beating until combined. 

3. In a separate mixing bowl, whisk together the flour, cocoa, salt, and baking soda. 

4. Slowly beat the flour mixture into the sugar mixture adding milk until combined. 

5. Using an ice cream scoop drop the batter onto greased cookie sheets. Use a butter knife to help create points on either side creating the shape of a football. 

6. Bake 10-12 minutes then let cool before frosting. 

Ingredients: Cream Cheese Frosting 

8 tablespoons unsalted butter at room temperature 
12 ounces cream cheese at room temperature 
4 cups icing sugar 
1 teaspoon vanilla extract 

Instructions: Cream Cheese Frosting 


1. In a mixing bowl, beat the butter and cream cheese until fluffy. 

2. Add icing sugar one cup at a time beating until combined. 

3. Add the vanilla and stir until combined. 

4. Fill a plastic ziplock bag with the cream cheese frosting and cut a small hole in one bottom corner. 

5. Flip one of your whoopie pies over and frost the inside. Gently press another whoopie pie on top of the frosting creating a sandwich. 

6. Use the remaining frosting to pipe football laces on top of each whoopie pie. 


Results


Creating the batter for the whoopie pies and the frosting was a quick and easy process. This being said, trying to make the batter into football shapes on the baking sheets proved to be a difficult task for me. The batter was gooey and quite sticky so it was hard to get it to hold the shape that I wanted. I tried the first batch of whoopie pies using the suggested strategy of using a butter knife to help shape the batter. Once this batch was ready, I grew discouraged as they did not resemble footballs in the slightest. I managed to save this batch after they had cooled by using a knife to cut around the edges of the whoopie pies creating a more distinct football shape. After this lengthy and frustrating process I decided that I would try something different for my next batch. I thinly lined the bottom of a cake pan with the batter and planned on cutting the football shapes out of the 'cake' after it had cooled. This was much simpler to do, but the whoopie pies from this batch ended up being very thick. 


The result of my first batch of whoopie pies after using the butter knife to help shape the batter...evidently they did not turn out as planned haha


I was able to save the first batch by cutting around the edges in the shape of a football after they had cooled. 

For my second batch, I used a cake pan to bake the batter and cut football shapes out of the cake. 


Thankfully, the whoopie pies tasted good and the process of making the frosting was a lot simpler. The recipe suggested using a piping bag fitted with a star tip to frost the whoopie pies. I did not want to buy a piping bag, so I decided to try out using a zip lock bag with a hole cut in the tip of the bottom corner. I am so glad I did not go to the extra effort to buy a piping bag as the zip lock bag worked very well! I cut a larger hole in the bag I used to frost the inside of the whoopie pies, and I cut a small hole in the bag that I used to frost the football laces on top. 

Overall, the whoopie pies turned out pretty well. They taste good, but the process of making them definitely tested my patience. The whoopie pies were not too sweet which balanced out the very sweet icing. I would have liked to find an easier way to create the shape of the footballs as mine did not turn out as well as the picture in the recipe I used. Furthermore, the sizes of my whoopie pies varied greatly so at times it was difficult to find a matching top to finish off the 'sandwich'. Some of the whoopie pies were thin while others turned out very large and thick making it difficult to know how much icing I should put on them. I will not be making these whoopie pies again even though they were a cute addition to our super bowl party and everyone seemed to enjoy them. I hope that next weeks baking goes a little more smoothly than this weeks. 

My mismatched football whoopie pies...at least they tasted better than they looked!!